

Monday, January 31, 2011
Wednesday, January 26, 2011


Tuesday, January 25, 2011


Monday, January 24, 2011
Alright...
So here is a pic of the final product, minus the brake conversion:

You can spy the Fairlady 2+2 R180.
It comes in the 4.11 ratio.
Also shown are the ARP studs. Had to replace the stockers. Way too short.
A Clear shot of the coilovers:

I added 10" QA1 Springs.
225# in the rear
Included springs were some crazy rate and 8".
Even lower than the last post:


Cool.
At the request of my two favorite fans here are the wheel specs:
Front:
15x7.5 Epsilons/Southern Ways
10mm offset
195/55/15
Rear:
15x9.5 Epsilons/Southern Ways
0 offset
225/50/15

Sunday, January 23, 2011


Friday, January 14, 2011
Better late than never
Oh ya I forgot to tell you.
Took the rear suspension out.
Trying to get it out with the exhaust in made it a bitch.
If the exhaust wasnt there it would have been pretty easy.
Strut/Spring/Control Arm/Drum Brakes:

Stock R180:

I think 3.34 ratio???


Where the Tube meets the hub. Weld here:

Moved on to the camber plates:

You can see what I did to the strute tube.
I got rid of that shit.
Just like the front, I pressed on an adapter.
The adapter will allow me to use certain brands of s13 coilover
I got rid of that shit.
Just like the front, I pressed on an adapter.
The adapter will allow me to use certain brands of s13 coilover
Looking down the barrel of the tube:

Where the Tube meets the hub. Weld here:

Welding:

Moved on to the camber plates:

My 120V welder kept tripping the breaker in the garage.
You can see where I was in the zone and then the breaker tripped.
Then the wife got home from work so no more play time.
Thursday, January 13, 2011

Wednesday, January 12, 2011
Tuesday, January 11, 2011
Rear Camber Plates
I should have done this before I had the car painted.
But that would be the logical thing to do.
Tools of the trade:

Grinder w/cutoff wheel & Sawzill
The Result:

A gapping hole.
Now test fit:

Tomorrow Welding.
Stay Tuned
WORDS TO BUILD BY
You can have your choice of 2 but RARELY all 3.
Cheap+Reliable = Not Fast
Fast+Cheap = Not Reliable
Fast+Reliable = Not Cheap
I took out my entire rear drivetrain/suspension.
Will have pics soon.
Thursday, January 6, 2011

Wednesday, January 5, 2011
Some New Parts
I went with this biscuit camber plate cause I didn't want to cut up my front towers.

This shit (and other shit like it) is actually cheap if you know the Nissan part#.
You just gotta work for it.

From MSA. The Zparts monopoly.
It's a generic mirror, but MSA had the best price

Swap meet score.

Carbon fiber. Not sure if I'm going to run these...

Tuesday, January 4, 2011
Rust-Proofing & Insulation
For the new followers out there check out the entries from Feb and March
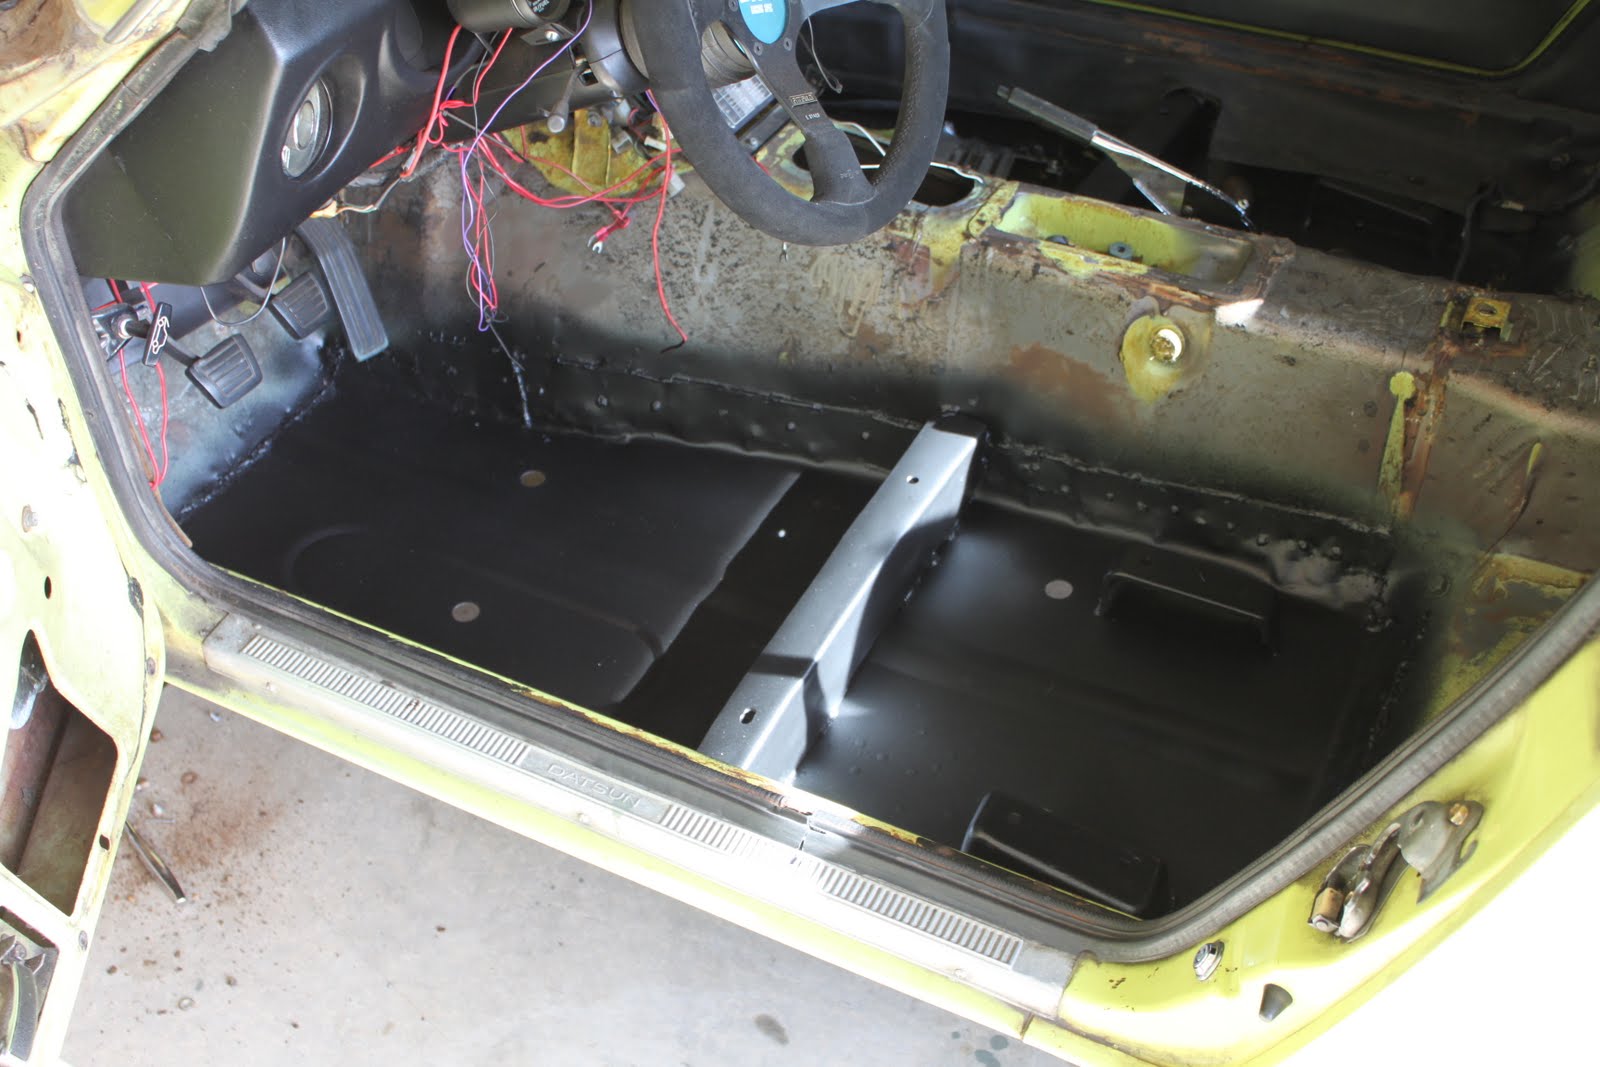
I had to replace the floors due to massive rust.
When I was done, this was the result:
This stuff:

It looked good at first, but deteriorated quickly.
I do not recommend it.
After a large amount of research I decided on this:

Chassis Saver
Here's an advertisement:
You can either use a spray gun or a brush to apply the coating.
I used a brush because I'm lazy and I didn't want overspray all over my paint.
Anyways here is what it looks like wet:
When it dries (takes at keast 24hrs) it will be satin black.
Now that that's done it's time to put in some insulation.
This is going to be a car that I want to enjoy on the street, not some crazy track/autocross car.
With that said, for me to be able to enjoy it, I need to be able to at least hear myself think.
However, squeaks & rattles in a car like this are assumed.
My goal is to minimize those things.
Do your research and you'll find out that Peel&Seal is the same shit as the original Dynamat.
(Peel&Seal is available in the roofing section @ the hardware store)
You can go crazy and get the super $$$ stuff, but like I said, I just want to hear myself think.
If that's you goal too, do yourself a favor and save some money.
In the package:

Your gonna need a heat gun, some kind of roller, and a pair of scissors.
A wallpaper roller works well.
I stole the one below from a stack of crap @ the parents house.

There are 2 secrets to making this stuff last.
#1:Making sure the mounting surface is clean.
#2:Heating up the Peal&Seal.
Apply heat via the heat gun to the mounting surface to warm it up.
Don't let it get too hot, just warm.
Do the same to the Peal&Seal. Again not too hot.
Apply the same way you would a piece of tape pushing the Peal&Seal into crevices as you go along.
Once you have applied it heat it up again. Again not too hot, just so that its warm to the touch.
Now use the roller to firmly bond it to the mating surface.
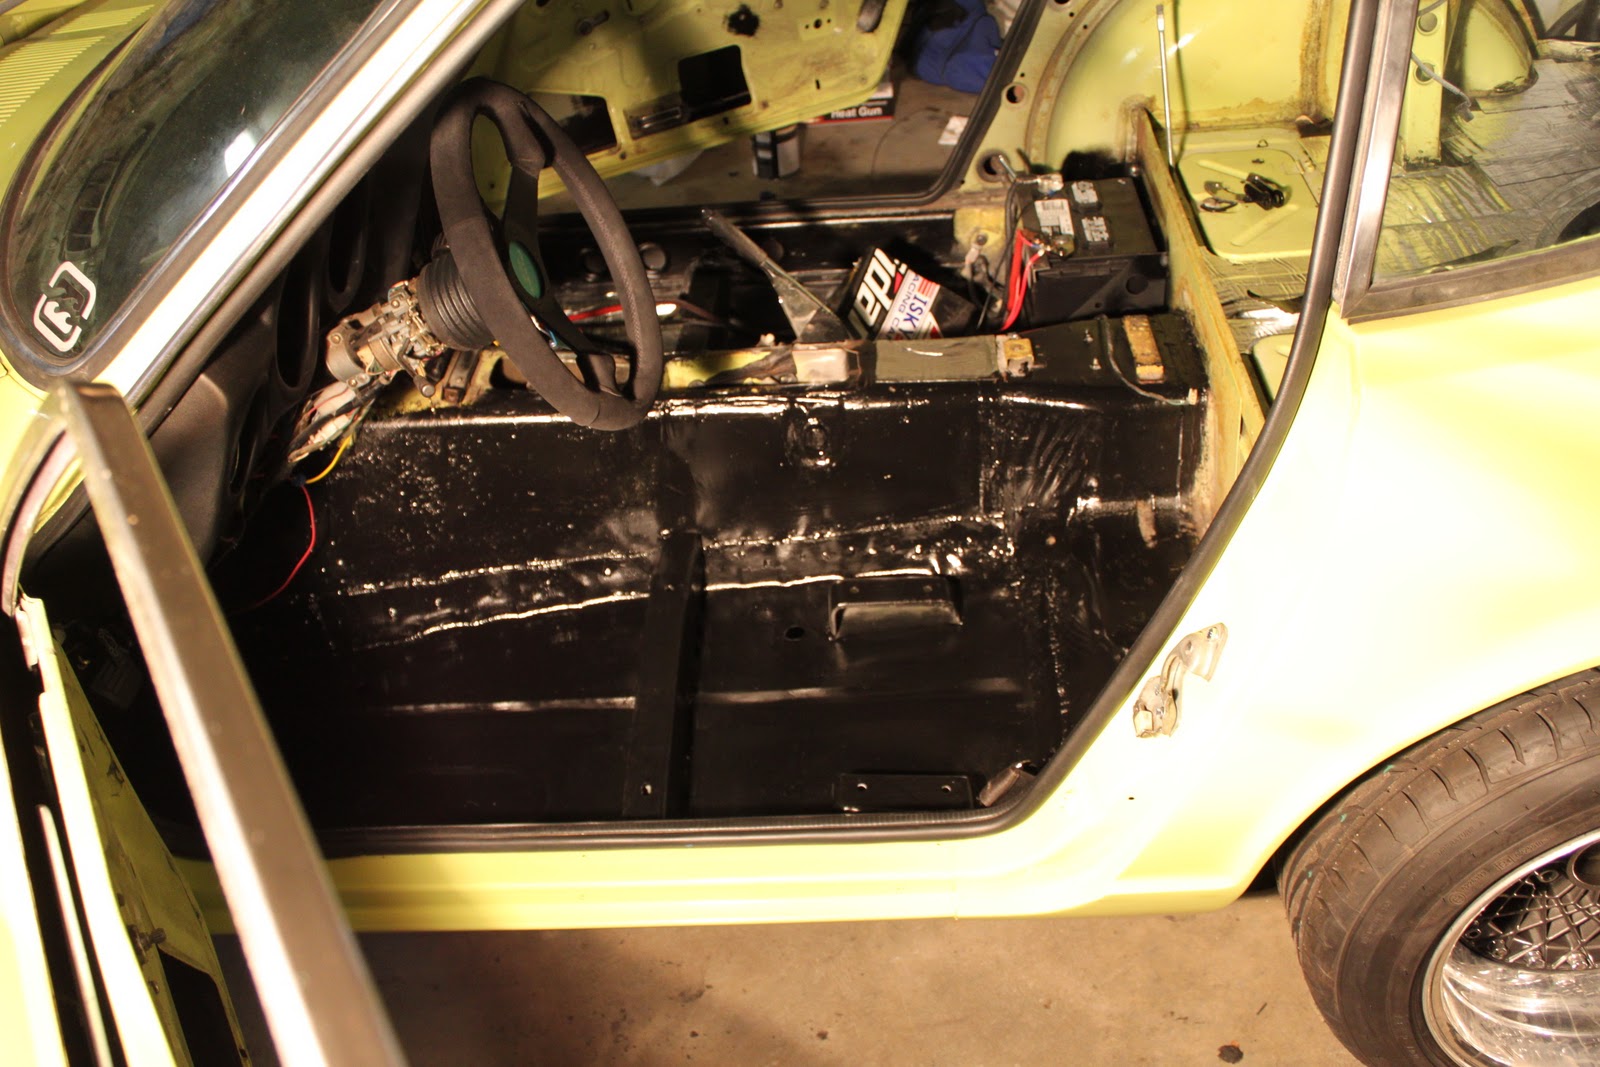
These are the results
Sound insulation is mucho improvo.
For spots with extra resonance, layer the material until you are satisfied.


Saturday, January 1, 2011
Keep it Old School
This is a bit strange.
I'm conflicted
I should be happy the aftermarket is starting to look at the older Japanese imports.
And I'm all for technology upgrades.
Not to mention low, aggressive cars.
But I'm seriously irked by the TE37V. Something about it just pisses me off.
Perhaps it's what it represents. The recent popularization of the "old school."
I just need to get over it and embrace all the cool new people/products attracted to this scene


Subscribe to:
Posts (Atom)