Wednesday, August 14, 2013

New Speedo - Install Time

Got a New GPS Speedometer from Speedhut
With the Right Options Picked, it Looks Almost Stock
Here's How I Fit it in the Stock Pod

First Step Remove The Column Cover


Next Pull the Dash Cover (If You Have One)

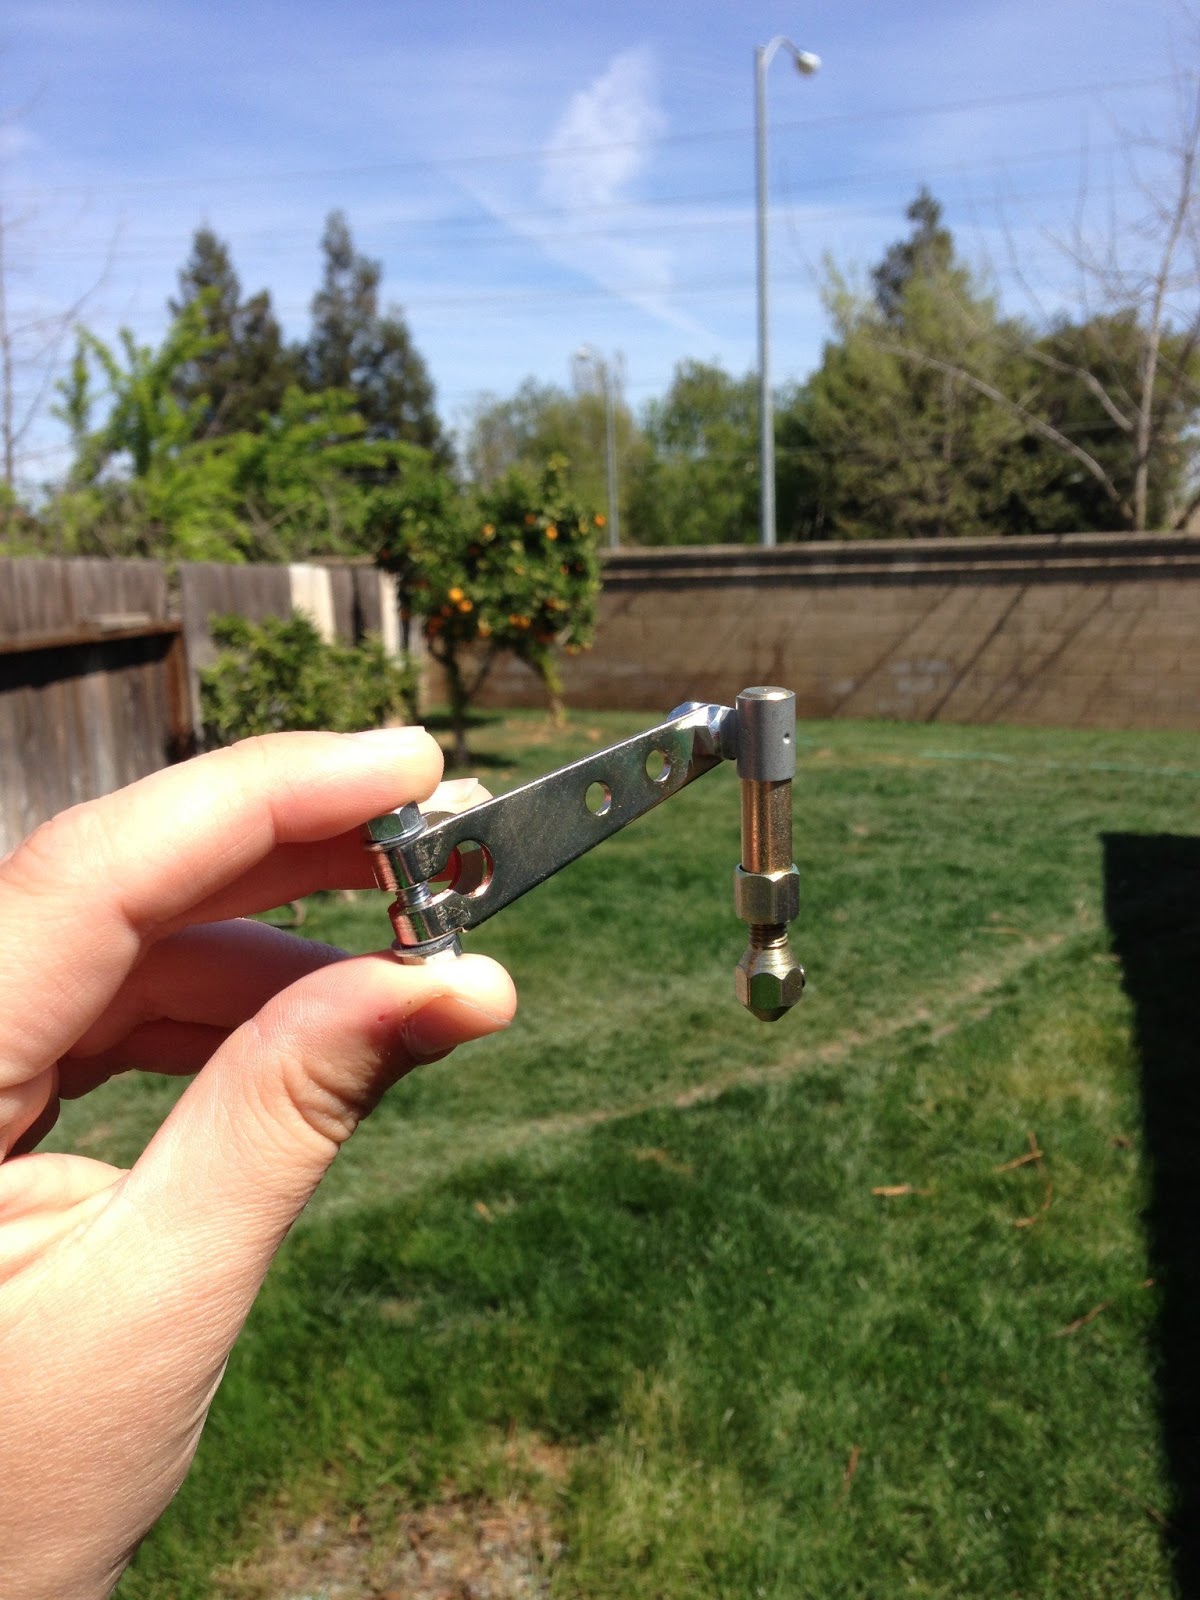
The Speedo is Held in by Two Wing Nuts
Almost Impossible to Get Off by Hand
Easy Removal is Done Via a 3/4" Socket


Boom


With the Dash Cap Out of the Way
And
The Two Wing Nuts Removed the Speedo Slides Out The Front of the Dash


Disconnect the:
Gauge Lights
Trip Reset Cable
Speedo Cable
& Remove Speedo

Now Get Ready To Disassemble the Speedo

Remove the Four Screws Holding the Gauge Shroud to the Gauge Body


Compare Gauges
Old vs New
Looks Pretty Similar
 

Carefully Remove the Guts of the Gauge
Retain the Gauge Body
Insert New Gauge into Old Gauge Body
Slide New Wires Through the Rear of the Gauge
Use Old Gauge Shroud to Stabilize New Gauge in Gauge Body


 Wire Up Per Instructions
Place GPS Antenna in Your Ideal Location
I Put It on the Metal Dash Valance w/the Defrost Vents

Finished Product
Same Install Method for Install of Tach

Thursday, July 11, 2013

Tuesday, April 2, 2013

Cable Conversion


OK
So I kind of rushed through this mod
So not a lot of in progress pics

I cannot state how necessary this mod is for tripple carbs
I'd imagine it is worthwhile for the OG SUs
I retained the original linkage to be more period correct
I did not want to alter the character of the car
For some reason I got a bug up my ass and got parts to convert to a throttle cable

There's not a lot of documentation out there on how to do this
I was left to my own
My main inspiration was brake cable setup on my BMX bike
After studying how it works for an hour I started the project.

Step 1: Parts


The above product bolts on to the weber linkage arm
the end of the brake cable wire inserts into the tip
the tip moves freely in the direction of the pulling force

In the series of pictures below, you can see how it works.
Gravity, in this case, is the pulling force.


First step is to remove the gas pedal
Wish I took more pictures of this...
I drilled out the ball on the stock pedal arm
I fabbed a new lever end to accept the brake cable end

Crappy picture, but here is what it looks like


Once that is done you can come up with a fire wall mount for the cable sleeve end
I removed the grommet for the original linkage
Utilized the cable adjuster nut purchased from Pierce
Put a big ass washer with rtv on the engine bay side of the firewall to clean it up


Now you need to make a cable mount for the other side of the brake cable
Make sure its thick gauge steel
My first bracket was too thin and bent
I mounted my bracket using the bottom two velocity stack mounting studs
It is under the carb so as not to be too visible
This is the best pic I have at the moment


 You want to maintain as linear of a path with the Lokar part
So as not to cause the wire to rub and prematurely wear

Here you can see how I mounted the linkage arm


 I also added a return spring to help the carbs return to ZERO


All done and hardly noticable
Driving is much improved and I'd say more enjoyable

Not my best write-up due to my hastiness
If you need specific pics or information feel free to comment & I will follow up

Wednesday, March 13, 2013

Breath Easy - Part 2

So This Took Me Forever.
After Some Screw Ups and Body Filler Failure This Was The Result


It took me about 3 weeks of sanding, priming, bondo-ing, puttying, etc
But it was finally perfect

Time to mix up some paint!

Step 1: Clean HPLV gun cause you were too lazy to clean it last time
Makes it twices as hard btw cause everything gets crusty
Nothing Acetone won't fix


Disassemble the gun and clean everything
Then reassemble and spray acetone through it just to make sure its super clean
Step 2: Wipe down part to be painted with Mineral Spirits.


BOOM. Big Ass Can
Next get out your paint
For small parts I use a single stage paint
Its super easy to mix, durable and usually only requires a single paint session
You can hardly tell between a single stage paint job and a base/clear with flatter colors


So you have your reducer, hardener, and the actual paint
I use OMNI by PPG cause it is cheap, easy to use, and it works
Heres the mixing ratio:


4 parts paint
1 part hardener
2 parts reducer

start mixing


I would not recommend using a solo red cup as a mixing container
20 minutes later the paint ate through the cup spilling all over the place
No Bueno
A spray paint lid as a measuring tool is not a good idea either
But I gotsta use what I gots

Anyways, I started painting but wasnt patient enough
Your supposed to wait 10 minutes between coats
I waited 5 seconds
Anyways I ended up with some runs which also led the paint away from the edges
I'm usually pretty good with painting so I was frustrated with myself...
Especially since I spent so much time with the prep work


You can see the run in the pic above
Pretty bad
I was able to sand it out with 1500 grit sand paper
But like i said the edges are very thin
I may sand it down with 600 grit and spray again

Here's a rough idea of what it looks like on the car


It needs some adjustments and possibly a repaint, but I like it so far

Saturday, February 9, 2013

Mix N Match


15x7 Epsilons on front & 14x9 Wats on rear

Sunday, January 6, 2013

Breath Easy

Gettin Crazy with an inspection lid

One of the bigger problems with S30Z is Aerodynamics
This includes the area under the hood
Basically Air gets trapped in the engine bay
The explanations get real technical. Just trust me
That Air gets real hot, given its proximity to the engine creating a ton of problems
This is why Nissan came out with an optional hood "scoop" for S30s
And hood vents for the 78 S30s

Not wanting to cut a giant hole in the beautiful line of the Z hood
I decided upon butchering the inspection lid to get the air to travel a bit easier out of the engine bay

Step 1: Draw up a plan

Step 2: Cut that sh!t

Step 3: Drink High Life

Step 4:Start to Fab

Step 5: Make Corner Templates

Step 6: Cut Corners

Step 7: Weld it all together

Step 8: Done with Fabrication

Next will be body work and paint!